

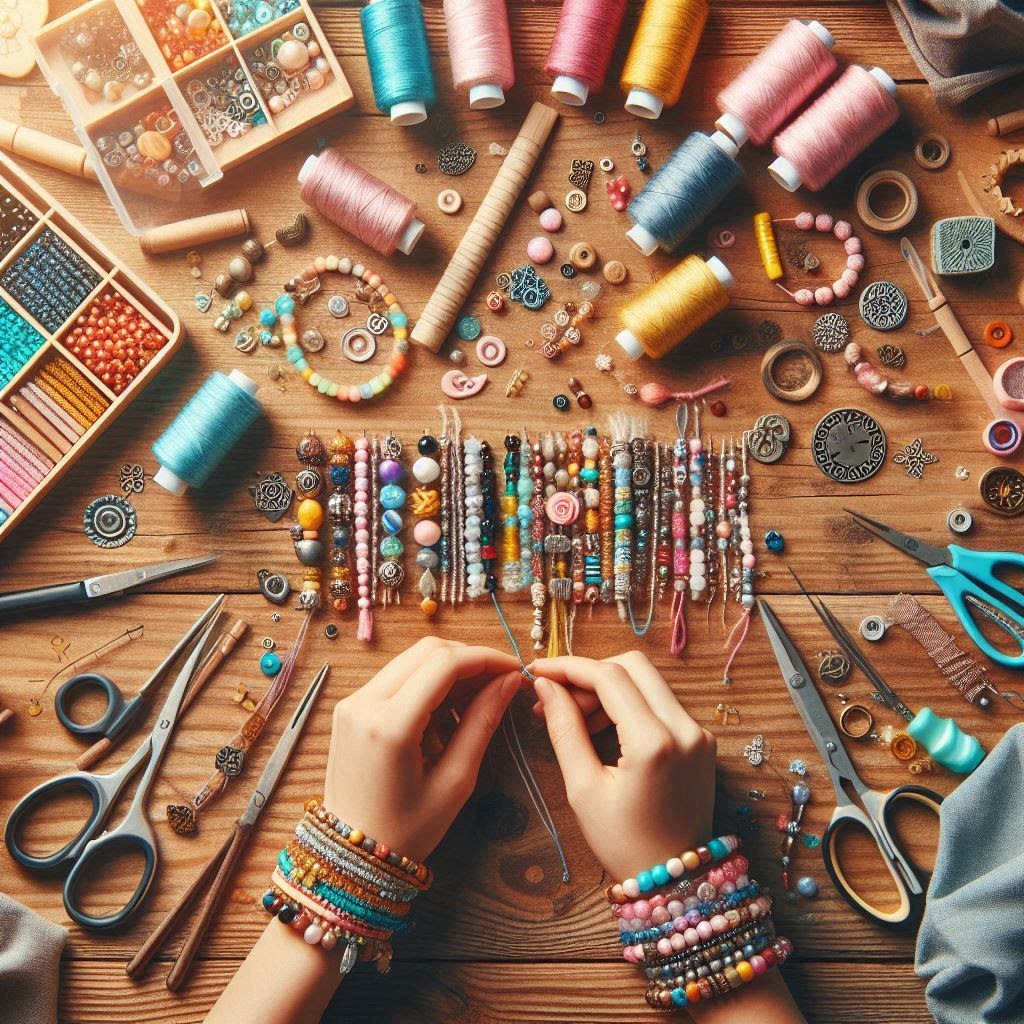
Creating handmade DIY bracelets with beads and thread is a rewarding and creative craft that allows you to express your personal style while making unique, heartfelt gifts or accessories. This guide will walk you through the process of making beautiful beaded bracelets, from choosing materials to mastering techniques, and offer tips to ensure your creations are both stunning and durable. Whether you’re a beginner or an experienced crafter, this article provides everything you need to get started or elevate your bracelet-making skills.
Why Make Handmade Beaded Bracelets?
Handmade beaded bracelets are more than just accessories—they’re a form of self-expression, a way to connect with others through gifting, and an opportunity to engage in a relaxing, creative activity. The combination of beads and thread allows for endless design possibilities, from minimalist to bohemian to intricate patterns. Plus, crafting your own bracelets is budget-friendly, eco-conscious, and a great way to repurpose materials you may already have.
Some benefits of making DIY beaded bracelets include:
- Customization: You control the colors, patterns, and materials to match your style or the recipient’s taste.
- Affordability: Beads and thread are inexpensive, and you can create high-quality pieces for a fraction of the cost of store-bought jewelry.
- Therapeutic Craft: Beading is meditative and can reduce stress while boosting focus and creativity.
- Sustainability: Use upcycled or eco-friendly materials to create environmentally conscious jewelry.

Materials Needed for Beaded Bracelets
Before diving into the creative process, gather the right materials. The beauty of beaded bracelets lies in their versatility—you can use a wide range of beads and threads to achieve different looks. Here’s a breakdown of essential and optional supplies:
1. Beads
Beads come in countless shapes, sizes, materials, and colors. Popular options include:
- Glass Beads: Affordable and available in various finishes (matte, glossy, faceted).
- Gemstone Beads: Add a luxurious touch with materials like amethyst, turquoise, or rose quartz.
- Wooden Beads: Perfect for a natural, bohemian vibe.
- Seed Beads: Tiny beads ideal for intricate patterns or weaving.
- Metal Beads: Add a touch of elegance or industrial style.
- Charms: Small pendants or decorative beads to personalize your design.
Choose beads with consistent hole sizes to ensure they work with your thread.
2. Thread
The type of thread you choose affects both the look and durability of your bracelet. Common options include:
- Nylon Thread: Strong, slightly stretchy, and available in many colors.
- Waxed Cotton Cord: Durable and great for a rustic look.
- Elastic Cord: Ideal for stretchy bracelets that don’t require a clasp.
- Silk Thread: Soft and luxurious, perfect for delicate designs.
- Hemp Cord: Eco-friendly and suited for earthy, bohemian styles.
3. Tools
- Scissors: For clean, precise cuts.
- Beading Needle: Helps thread small beads or weave intricate patterns.
- Pliers: Useful for attaching clasps or crimping beads.
- Tape or Clipboard: Keeps your thread secure while working.
- Measuring Tape: To measure wrist size and thread length.
4. Additional Supplies
- Clasps or Closures: Lobster clasps, toggle clasps, or sliding knots for non-elastic bracelets.
- Crimp Beads: Secure clasps or ends of elastic cord.
- Bead Stoppers: Prevent beads from sliding off while you work.
- Glue: Jewelry glue or clear nail polish to secure knots.

Step-by-Step Guide to Making a Beaded Bracelet
Here’s a beginner-friendly tutorial for creating a simple beaded bracelet using thread and beads. This method uses elastic cord for a stretchy, clasp-free design, but you can adapt it for other styles.
Step 1: Plan Your Design
Before stringing beads, sketch out your design or lay out your beads in the desired pattern. Consider:
- Color Scheme: Monochromatic, complementary, or contrasting colors.
- Pattern: Symmetrical, random, or repeating sequences.
- Focal Point: A larger bead, charm, or unique element to draw attention.
Measure your wrist (typically 6–8 inches) and add 2–3 inches to account for knots and ease of wear. Cut your thread to this length.
Step 2: Prepare Your Workspace
Set up a clean, flat surface with good lighting. Use a bead mat or cloth to prevent beads from rolling away. Secure one end of the thread with a bead stopper or tape to keep it in place.
Step 3: String Your Beads
Thread your beads onto the cord in the order of your design. If using elastic cord, stretch it slightly as you work to ensure flexibility. For intricate patterns, use a beading needle to guide the thread through small bead holes.
Tip: Periodically check the length by wrapping the bracelet around your wrist. Leave about 1 inch of thread on each end for knotting.
Step 4: Secure the Bracelet
Once all beads are strung, tie a secure knot to close the bracelet. For elastic cord, a double or triple surgeon’s knot works well:
- Cross the ends of the cord.
- Loop one end over and under the other twice.
- Pull tight and add a dab of glue for extra security.
- Trim excess thread, leaving a small tail.
If using a clasp, attach it with crimp beads and pliers:
- Slide a crimp bead onto the thread, followed by the clasp.
- Loop the thread back through the crimp bead.
- Use pliers to flatten the crimp bead, securing the clasp.
- Repeat on the other end with the corresponding clasp part.
Step 5: Finishing Touches
Inspect your bracelet for loose beads or weak knots. If you used glue, let it dry completely before wearing. Test the fit by slipping the bracelet on and off your wrist—it should be snug but not tight.

Advanced Techniques for Beaded Bracelets
Once you’ve mastered the basics, try these techniques to elevate your designs:
1. Braided Thread Bracelets
Combine beads with braided thread for a textured look:
- Cut three equal lengths of thread (e.g., waxed cotton or nylon).
- Knot the ends together and braid tightly, adding beads at intervals.
- Secure the ends with a sliding knot or clasp.
2. Bead Weaving
Use seed beads and a beading needle to create intricate patterns like chevrons or geometric shapes. Popular stitches include:
- Peyote Stitch: Creates a woven, flexible fabric of beads.
- Right-Angle Weave: Forms a lattice-like structure for a delicate look.
3. Macramé Knotting
Incorporate micro-macramé knots with beads for a bohemian style:
- Use square knots or half-hitch knots to frame beads.
- Alternate knots and beads for a balanced design.
4. Multi-Strand Bracelets
Create a layered look by stringing multiple strands of beads on separate threads, then connecting them with a single clasp or knot.
Tips for Success
- Choose Quality Materials: Invest in durable thread and beads to ensure your bracelets last.
- Practice Knots: Secure knots prevent your bracelet from falling apart.
- Experiment with Texture: Mix matte, glossy, and faceted beads for visual interest.
- Personalize: Add initials, birthstones, or charms for a custom touch.
- Store Properly: Keep bracelets in a jewelry box or pouch to avoid tangling or scratching.
Creative Ideas for Beaded Bracelets
- Friendship Bracelets: Use bright colors and simple patterns to make matching bracelets for friends.
- Boho-Chic: Combine wooden beads, feathers, and hemp cord for a free-spirited vibe.
- Elegant Designs: Use gemstone beads and silk thread for a sophisticated look.
- Themed Bracelets: Create seasonal designs, like red and green beads for Christmas or pastel colors for spring.
Troubleshooting Common Issues
- Beads Slide Off: Use a bead stopper or tape the thread end before stringing.
- Knots Come Loose: Double-knot and add glue for security.
- Bracelet Too Tight/Loose: Measure accurately and test the fit before securing.
- Thread Frays: Use waxed thread or coat the ends with clear nail polish.
Sustainability and Upcycling
Make your craft eco-friendly by:
- Using recycled beads from old jewelry.
- Choosing natural materials like hemp or organic cotton thread.
- Repurposing fabric scraps or yarn for unique textures.
- Donating or gifting your creations to reduce waste.
Where to Find Inspiration
- Social Media: Platforms like Pinterest and Instagram showcase endless bracelet designs.
- Craft Blogs: Websites like Craftsy or Beadaholique offer tutorials and patterns.
- Local Craft Stores: Browse beads and talk to staff for ideas.
- Nature and Culture: Draw inspiration from natural patterns, colors, or cultural motifs.
Conclusion
Creating handmade DIY bracelets with beads and thread is a fun, accessible, and endlessly creative craft. With just a few materials and some practice, you can design unique accessories that reflect your personality or make thoughtful gifts for loved ones. Whether you stick to simple stringing or explore advanced techniques like weaving or macramé, the possibilities are limitless. So gather your supplies, let your imagination run wild, and start crafting your own beaded masterpieces today!


.jpg)


0 Comments